
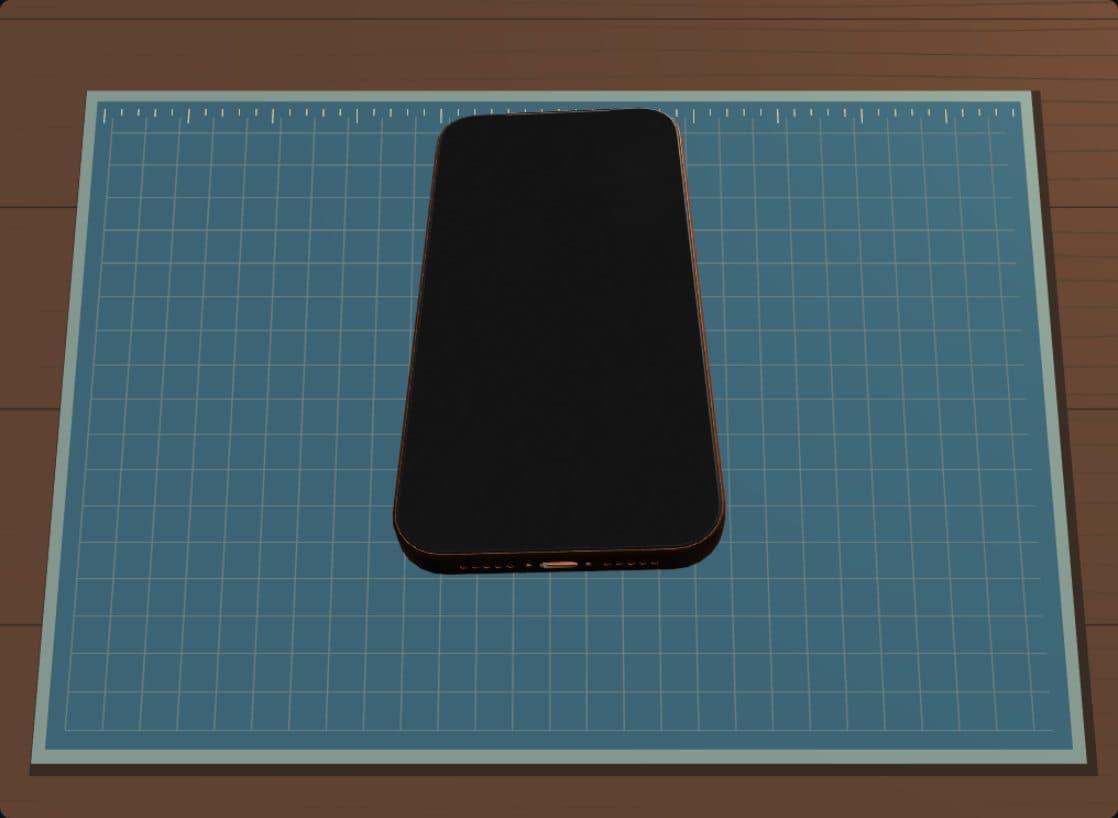
Open the device
Remove the bottom screws
Use the indicated screwdriver to remove both screws from the bottom of the iPhone. Press and hold each one until it comes out.
Open the full perimeter
With the phone resting on the mat, warm the edge. Pick up the suction handle and place it to create a small gap. Insert the pick to its 3 mm mark and trace all four sides until they turn green. The suction handle comes off automatically; then select the hand to open the display.
Do not insert the pick between the panel and its plastic bezel.
Do not insert the opening pick deeper than 3 mm.
Avoid the ambient sensor cable at the top edge and the display cable beside the volume-up button.
Remove the display
Remove the cowling screws
With the JIS 00 screwdriver, remove the display connector cowling screw first, then the battery connector cowling screw. Press and hold each screw until it is removed.
Remove the connector cowlings
With tweezers, remove the display connector cowling first, then the battery connector cowling.
Usá únicamente la punta de las pinzas y no apoyes el metal sobre conectores ni sobre la placa.
Disconnect the three flex cables
With the spudger, disconnect the battery, display, and ambient light sensor flex cables in order. Lift each connector from its edge without pulling the cable.
Remove the display
Carefully lift the disconnected display assembly away from the phone.
Open the workshopReplace the battery
Remove the battery tray screws
Use the Torx Plus 4IP driver to remove each tray screw. Keep screws organized by position and length.
Remove the battery
Lift the battery from its upper-left corner and remove it without touching the front camera.
Avoid touching the front camera.
Open the workshopInstall the replacement battery
Seat the replacement battery in its tray and check that no cables are trapped underneath.
Open the workshopSecure the battery tray
Reinstall each tray screw in its original position with the Torx Plus 4IP driver.
Renew the adhesive
Clean the sealing surfaces
Remove adhesive residue with tweezers and a spudger. Clean the frame and display perimeter with isopropyl alcohol and a lint-free cloth.
Apply the display adhesive
Align the adhesive with the camera cutout and notches. Peel back a third of the liner, apply progressively, press the perimeter with the spudger, then remove only the front liner.
Reconnect
Position the display
Place the display to the left of the phone so its cables reach the logic board without tension.
Open the workshopReconnect the display and sensors
Align and press down the display connector, then the sensor connector, using the spudger.
Reconnect and test the battery
Connect the battery with the spudger. Turn on the phone, check that it works, then turn it off before continuing.
Reinstall the connector cowlings
Position the battery cowling and secure its JIS 00 screw. Repeat for the display cowling.
Close the device
Seat the display
Remove the perimeter liners. Lower the top edge first, then press the edges flush without pinching cables.
Seal the perimeter
Press evenly along at least 95% of the display perimeter and warm at least 90% of the perimeter adhesive to complete the seal.
Reinstall the bottom screws
Use the P2 driver to reinstall the two 7.5 mm bottom pentalobe screws clockwise.
Check your work
Finish the repair
Complete Repair Assistant if required and follow the specified battery calibration procedure.
Open the workshop